Cleaning up the Printer

3D Printer | Posted by ShadowRam November 25th, 2013

Now that I have the printer somewhat in a reliable printing condition, it’s time to clean it up. It’s a pretty big mess at the moment, with desktop fans cooling the electronics, which is sitting on a piece of wood, and a lot of temporary alligator clips holding some stuff together for testing.

20131107_17182120131030_230818


So I did some work on the old electronics box that came with the printer. This is the picture of the old box to remind you,

20130411_114958


And this is the Arduino mounted in it, (with its new printed mount) and two computer fans I mounted on the side to replace the large desktop fan in cooling the electronics,

20131124_110235


I placed it in the corner and fed the wires back through it. I also went through the task removing some old wire from the cable track, and installing some extra wire. I plan on running a good constant 12VDC up to the print end to run constant fans and some LED lights to light the print-bed as it’s printing. Also to support some extra future sensors/etc.

20131125_223450

My most complicated design/print

3D Printer | Posted by ShadowRam November 25th, 2013

So one of the issues I have is that the parts need to be cooled as they are printing, otherwise on short layers the previous layer is still too hot, and the part will start to curl.
I’ve been getting away with aiming a small desktop fan at the printer as it’s printing, but one of the proper ways the 3D Printer prevents this, is to mount a controllable fan to the printer itself.

I designed this in Solidworks, and attempted printing it. To be honest, I thought it was going to be a complete failure, but it turned out way better than expected.

The bonus is, that this part will at least function well enough to print a better copy of itself, which can then help print an even better copy of itself,

This is an old computer memory fan cooler I had lying around and never used. But it has three fans. I’m using the middle one to cool the cold-end of the hot-end.

The other two outside fans are redirected down to the nozzle via some ducts. These 12VDC fans replaced the 5VDC laptop fan I had zip-tied to the side of the hot-end.

20131102_010917

20131110_205447

20131110_202637

My first new colour print

3D Printer | Posted by ShadowRam November 25th, 2013

Raspberry Pi Case

$25 Mini-Computer http://en.wikipedia.org/wiki/Raspberry_Pi

20131116_172600


Ordering More Colours!

3D Printer | Posted by ShadowRam November 25th, 2013

So I still have about 1/3 of my first roll of PLA Plastic, and I’ve decided to get more plastic and more colours for more printing. $33/roll

I got White, Black and Silver/Grey

20131112_122010


More Printing!

3D Printer | Posted by ShadowRam November 25th, 2013

Settlers of Catan Board Game Parts

20131030_230740 20131030_230752


Card Holders and Multiple Prints at the same time

20131109_103915 20131109_103846


Brackets to make the Printer more stiff,

20131104_073401


New better HotEnd Holder

20131104_073349


Fun Stuff

20131026_132130

Success!

3D Printer | Posted by ShadowRam November 25th, 2013

20131028_185249

So I’ve been printing for quite a while now, but I’ve really badly neglected to update this blog. Keeping the blog updated is a much longer task than I had anticipated,

Either way, here is finally a successful print where the quality is good enough to actually use the parts I print. I had a lot of problems getting the parts to stick to the bed, but luckly someone on reddit mentioned I should try some rubbing alcohol on the painters tape, and did it ever stick like crazy.

This part I’m printing out here in the picture is a mount for the Arduino electronics. I later found out that the object was actually mirrored by accident, due to my Y-Axis direction that I assume as ‘positive’ is really negative compared to everyone else’s printer. So I swapped that around and reprinted the part,

Shown here is that it fits the Arduino perfectly,

20131030_230818


Keep it moving along

3D Printer | Posted by ShadowRam October 28th, 2013

So I hit a pretty big road block. My build platform was no more, and this overshoot problem doesn’t appear to be an easy fix. I have to admit with everything else going on, it’s a bit discouraging, and finding motivation to keep at it is hard to find. But I keep telling myself, if building a 3D Printer was easy, everyone would have one.

Nevertheless, I kept at it. My biggest issue was finding suppliers. Suppliers that had the parts I needed, in Canada, and wouldn’t charge me an arm and a leg for what I needed, whether it be the parts themselves or shipping.

Without going into too big a story of the past couple months, I was all ready to order a bunch of parts, before I noticed something else with the printer. My initial hypothesis on why the printer was creating an overshoot problem was incorrect, and luckly I noticed this before ordering the parts. The issue actually was with the rollers on the Y-Axis. Every time the belt pulled the carriage one direction, it would cause the entire carriage to angle slightly.

The solution was to separate the two guide bars to prevent the rotation from happening. So I ordered some shaft holders and some linear bearings to replace the rollers.

So while I waited for suppliers to take a month to get in some stock I decided to finalize the build platform with level adjustment and get the heater bed in place.

20130712_162349

After a busy month of vacations/work/B-Days and such, I finally got around to mounting the new bearings and repositioning the shafts.

Some hacking and slashing


20130728_113417


With the shafts removed, I gathered the parts together,

20130728_113431

Then I mounted them,

20130728_133205 20130728_133215


It was another while before I got around to testing my new hardware to see if it worked

While struggling with the overshoot

3D Printer | Posted by ShadowRam July 14th, 2013

During the time I was attempting to solve the overshoot problem, I was also working on the print platform.

After I tightened up the belts, I printed an object I created in a few mintues. It was a simple bracket that I could screw to the wall and hold some screw drivers.

Screw_Driver_Holder


This was the largest object I had printed to date, and the first attempt ended up in warping.

20130614_20530820130614_205320


I cancelled the job, and you can see all four corners of the part are curling up. This means I’m not getting a good adherence to the build platform. So it’s about time I installed the heated bed, as this is what the heated bed was meant for.

After I installed the heated bed, I tested it out and started to heat up the mirror that I’ve been printing on up until this point. The electronics worked, and the sensor was controlling the bed quite well. I heated it up to a measly 30deg Celsius as a test. I then raised the temperature up to 40deg Celsius, and a part of the mirror suddenly come flying off, and a huge crack was generated down the middle of the mirror.

20130614_204436

The mirror already had a chip out of it, and the act of heating/expanding had caused it to crack. So there goes my print platform.


It’s been a while

3D Printer | Posted by ShadowRam July 14th, 2013

So this blog definitely needs an update.

I’ve been struggling to figure out the square not being square issue over the last month, and it’s also been pretty busy, and finding time to work on the printer is scarce, as is updating this blog.

So I’ll give you the overall troubleshooting I’ve been going through over the last month.

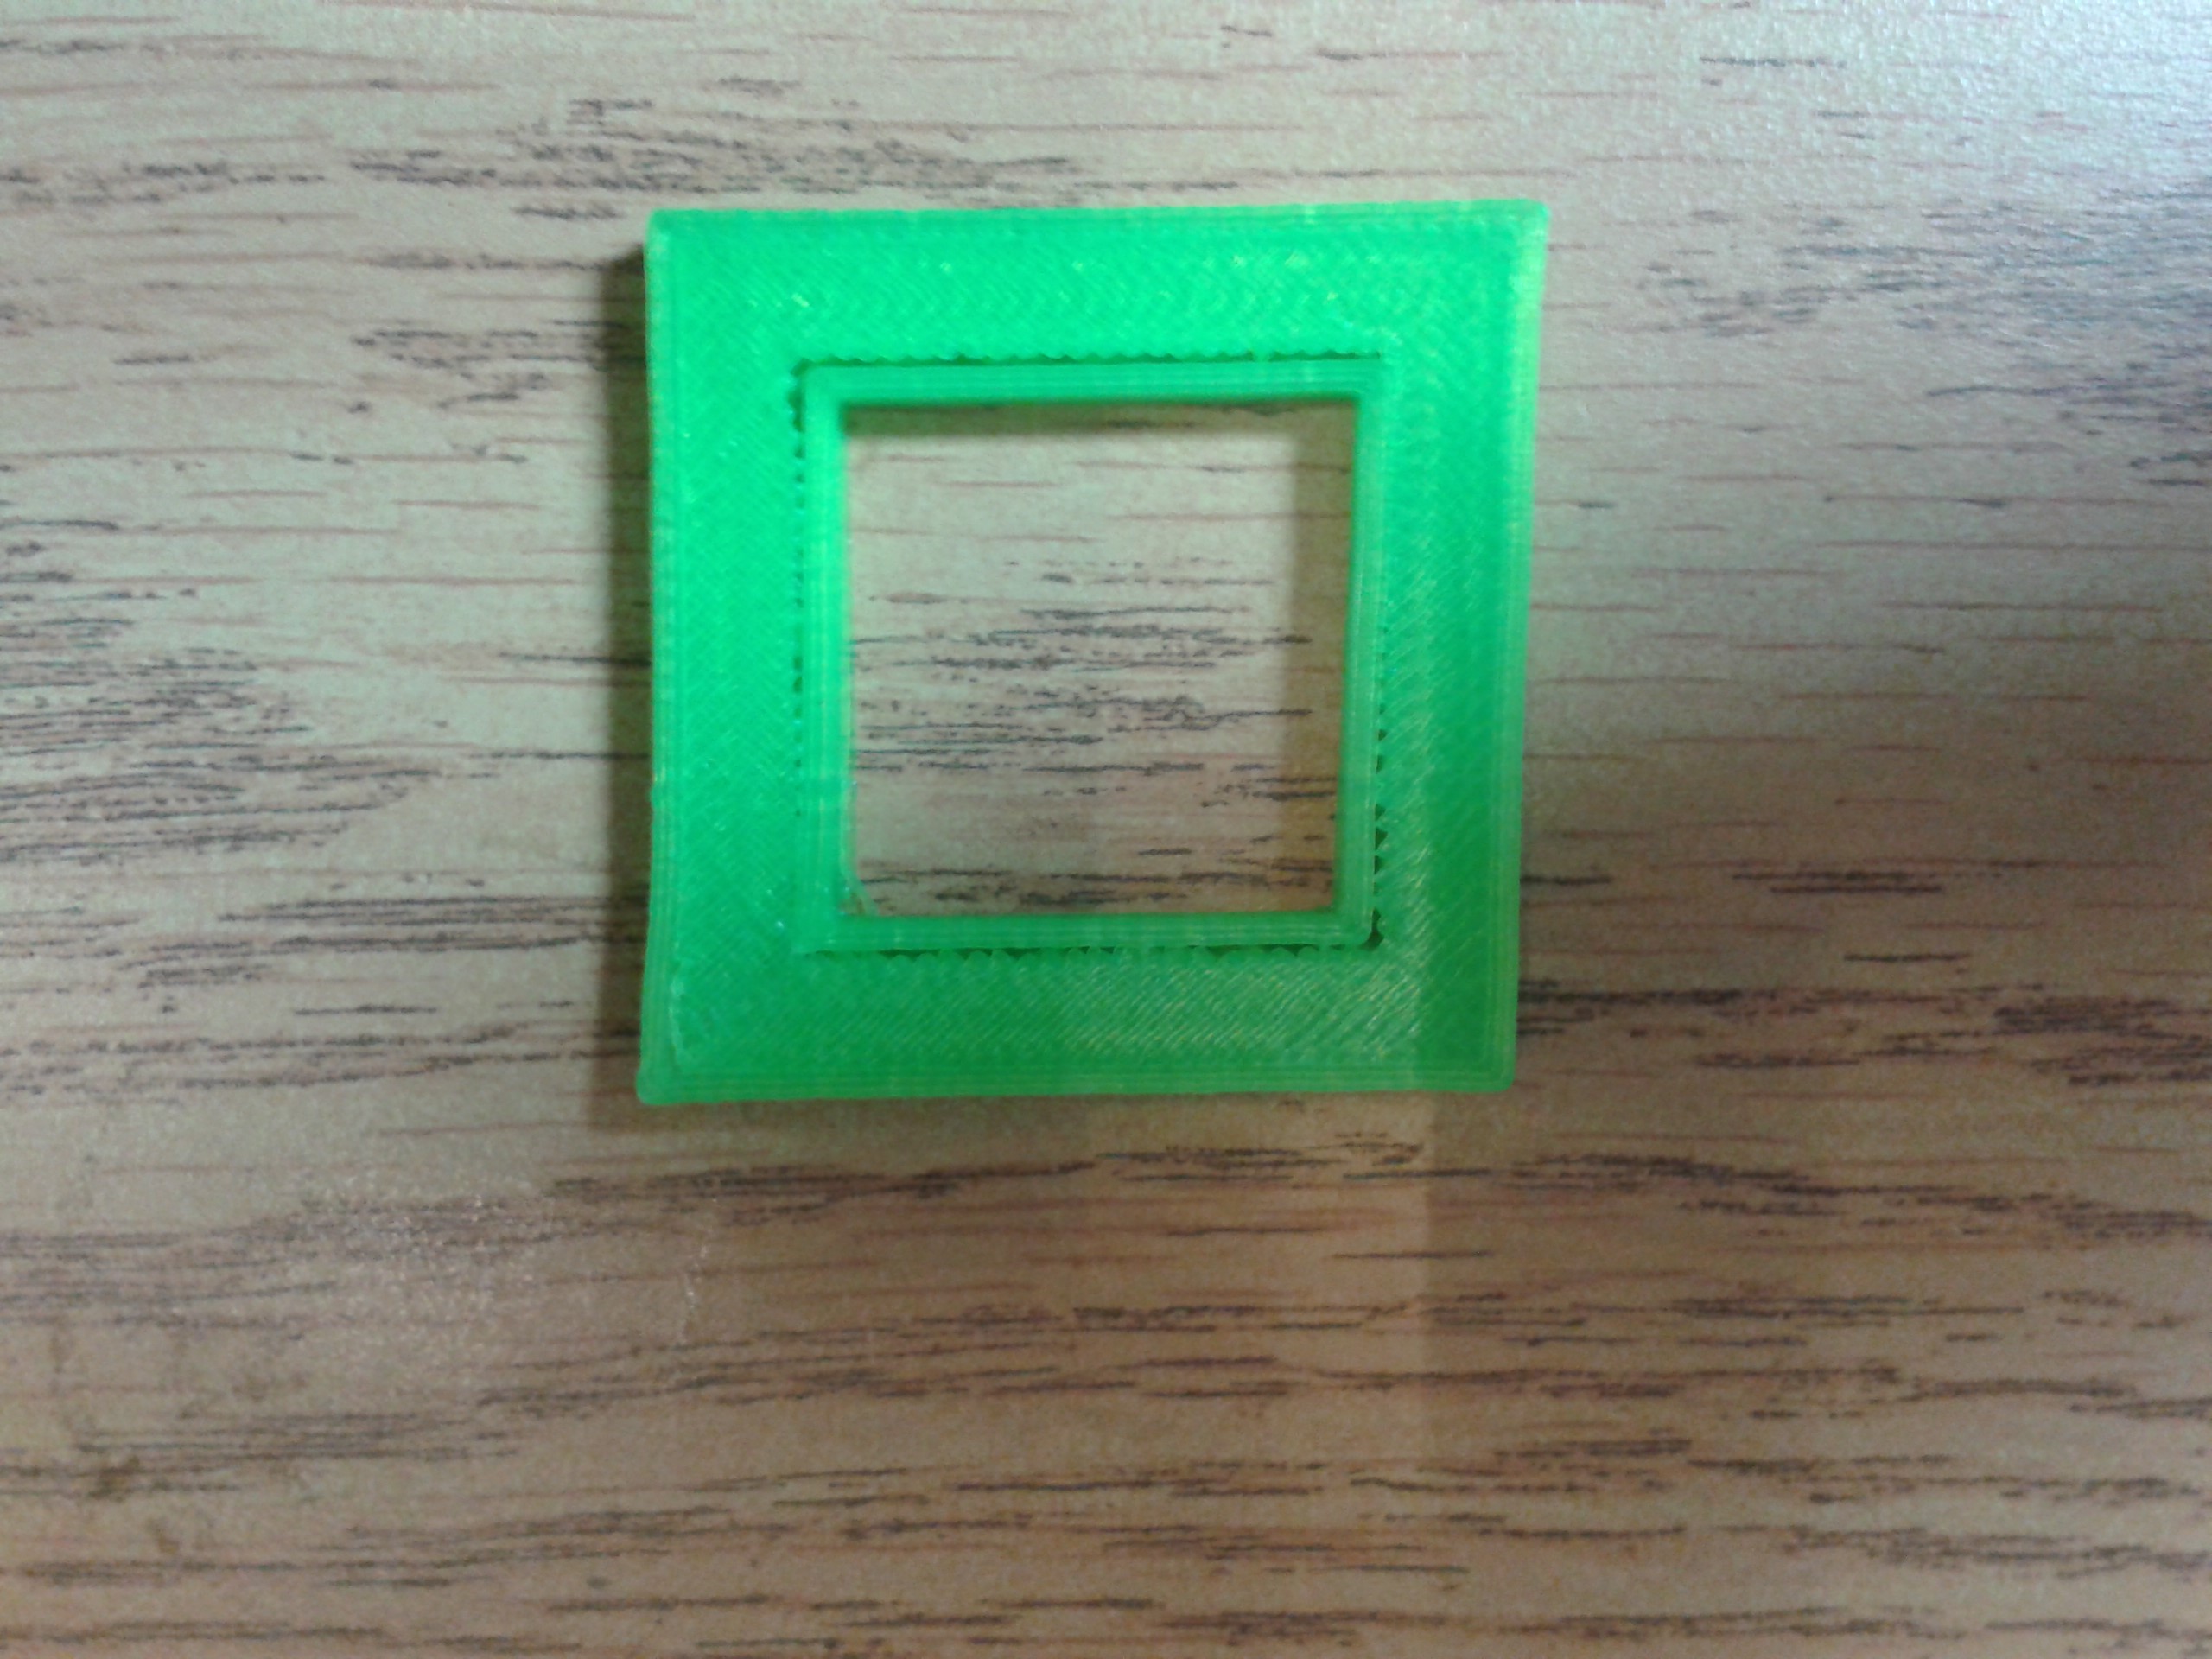
I started with making a part myself in 3D CAD which was a larger than the calibration cube. It’s a 50 x 50mm square only 5mm tall. This was done for two reasons. One to test how well I can import my own STL files and address any issues there, and two, to exaggerate the error over a longer distance so I can begin to figure out what’s happening.

20130614_205059

As you can see it is still not square, but it’s not a parallelogram shape either. But porting my own 3D models over to the printer, and having the printer software interpret the object worked without issue.

So I clamped a pen to the machine and ran it manually (actually by hand) to first verify that the frame itself was square.

20130614_204901

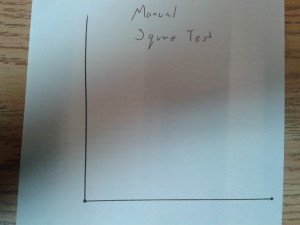
Yes, the X and Y axis are indeed squared. So what was causing it?

I kept the pen clamped to the printer, and I wrote some of my own movement commands in GCODE to find out what’s happening and stretched it out to 100mm square.

20130614_204842 20130614_204826


So in the first picture you can see that 2 of 4 corners are square, and there’s what appears to be ‘overshoot’ on the other 2 corners. I drew a squared off line on the second image to better show what’s happening.

It looks like the printer is overshooting it’s intended position and eventually settling into where it should be.

So my first hypothesis was belt tension was loose. So I tightened both the X and Y and it caused the overshoot to return to sooner. But the effect was still there.

My second hypothesis was that that this is basically inertia of the heavy carriage was causing the overshoot. So I slowed down the system to a crawl, and reduced the accelerations in the software drastically, it still had no effect.

My third hypothesis was that the carriage was coming out of square because one side was being driven, while the other side was meeting some resistance. So I had two solutions to this. Stiffen up the carriage, or install another belt on the opposite side.

My problem with installing another belt on the other side is that it would be costly. I can’t identify or find the same poly-chain belt that this thing seems to use, so I would require to purchase identical belts for both sides, including matching pulleys (4), and a shaft to connect the two sides, and the mounting hardware/bearings to support the pulley’s and the shaft.

The stiffening up of the carriage isn’t too bad, I purchased some one inch square aluminium tubing and tapped some holes and bolt it on. This stiffened up the carriage quite well.

The Skull of Curves!

3D Printer | Posted by ShadowRam May 27th, 2013

For fun, I found this model on Thingiverse and gave it a go.

It needed extra cooling during the print so I set up some computer fans alongside the print bed to keep a cool flow of air over the part.
The end of the print failed because the printer pulled the model off the bed.

What was happening is because of the short layers at the horns, the previous layer of PLA didn’t have time to cool down enough before the next layer was being printed on top.
This causes the layers to curl at the edges, and this is what happened until the print head pulled on the soft layer.

There is a fix in the configuration of the program where a delay can be added so there is a minimum time per layer to allow the layers to cool properly before continuing. I’ll have to set that.

Also below is my first time lapse video, enjoy!

20130526_203026