I’m lagging behind in my updates, as I’ve hit a few snags. Ok, so where did I leave off. Ah yes, I got the three axis functioning. I then went on to get my optical endstops working, and I ran into trouble. I hooked them up thinking they were industrial proof, and I burnt them out. Who would of thought that these things were only rated for 1.5V. So the 5V I gave them ending up burning out the IR LED that is built into them. I’m also kind of glad I’m not using them, because with some testing I noticed that they respond to ambient light way too easily.
So off to Newark (online electronics supply) I went to order some mechanical switches, and some metric hardware so I could have everything I need to assembly the extruder.
This is when I hit my second snag. I guess I’m not too well versed in how Newark works, because I ordered what I though was basic mechanical switches and metric hardware. With what I found out ‘after’ I ordered it had a 1 month lead time. I wasn’t willing to wait that long. So I went to my local electronics shop ‘Sayal Electronics’ and I picked up three mechanical switches, and wouldn’t you know, they also had metric hardware. I also had to make a stop at Fastenal to pick up a M3 and M4 tap.
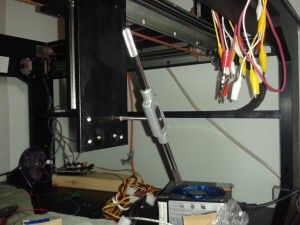
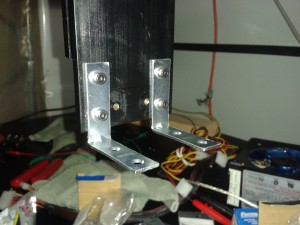
So as you can see here, I’ve tapped the Z-Axis to prepare mounting the extruder. I ran into trouble tapping the holes for mounting the new mechanical endstops, but a good co-worker of mine let me borrow his tapping ratchet that made it much easier to tap a hole in the corners. After breaking the M3 tap near the end and much pain and trouble having to actually crawl INTO the 3D printer volume to get at the area’s I needed to. I finally got the extruder mount and all three endstops in place.


